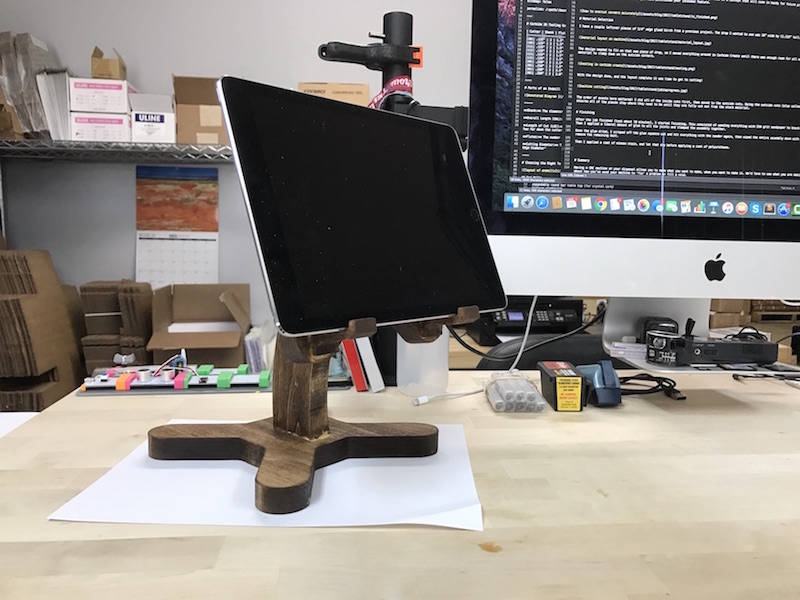
I went from idea to finished part in about 30 minutes when I made a desk stand for my 7" iPad Pro.
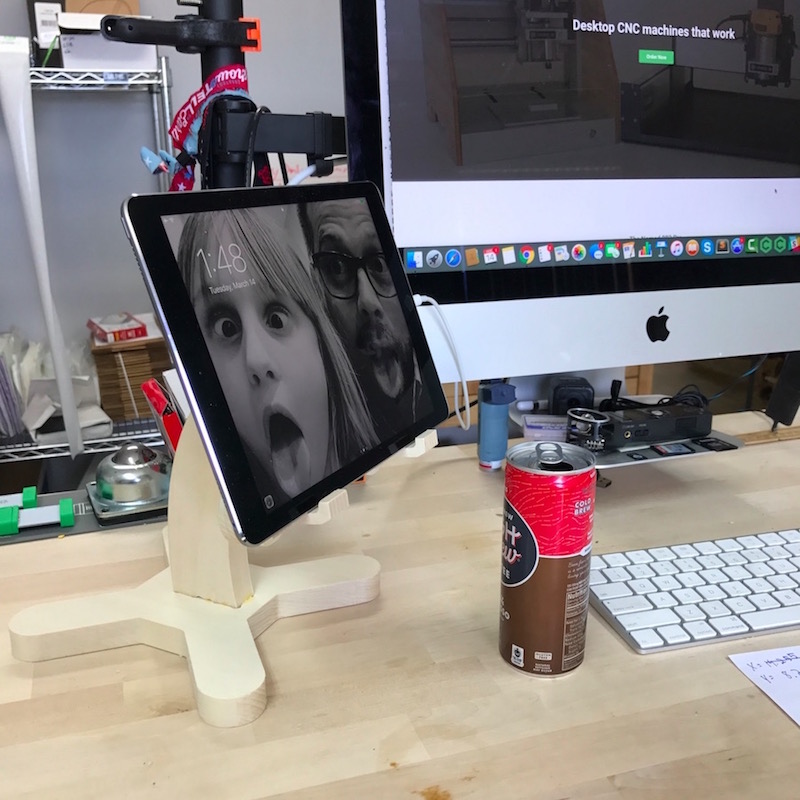
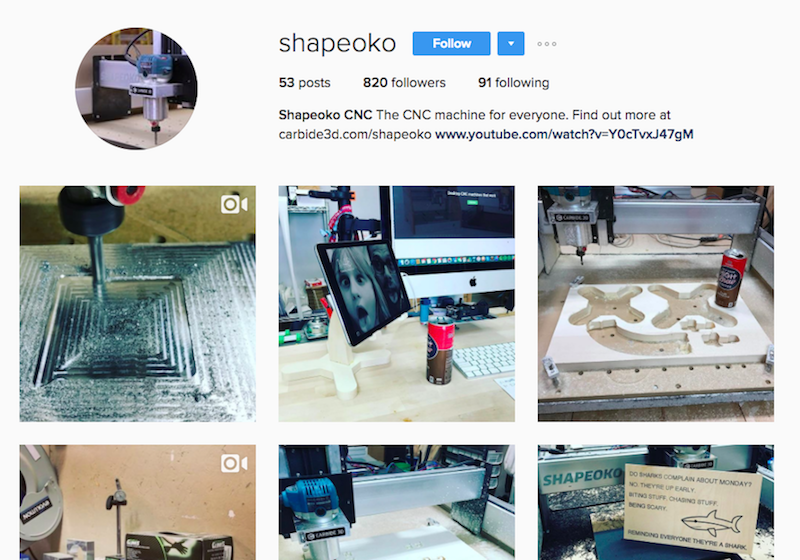
A few few months ago I picked up an iPad Pro and since have been slowly integrated the tablet into my everyday routine and now use it to keep a live eye on instagram.
Until yesterday, the iPad had just been leaning onto the front of my iMac - but it has the tendency to slip and most of the time ends up laying flat in the desk.
When this happened yesterday, I had enough. With a shop full of CNC machines at my disposal, surely I could fix this problem!
I started by getting an idea of proportions and scale. I wanted something that would both elevate the tablet and tilt it back for easy viewing.
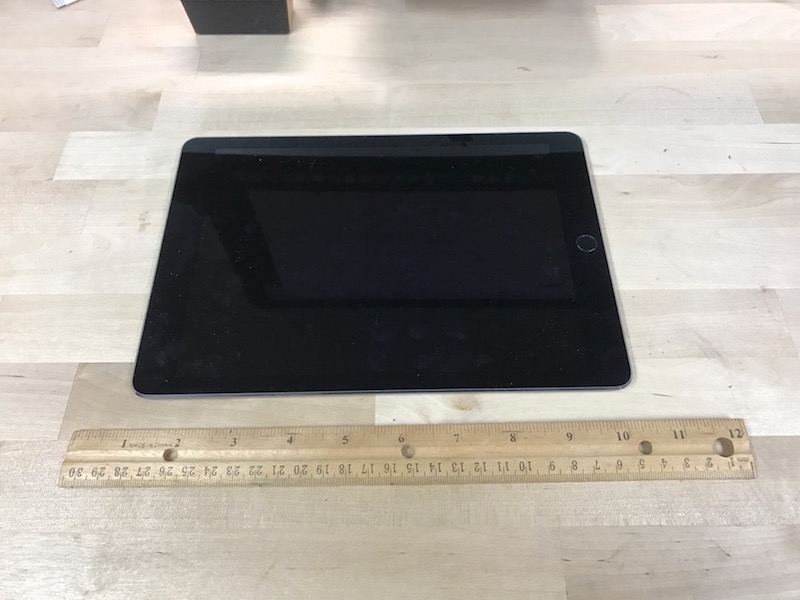
I settled on a height of about 6” from the desk and an angle of around 10 degrees.
The tablet is usually in landscape orientation but I wanted portrait to be an option if the need presented itself. So a width of 5” seemed appropriate, with a gap to allow for the charging cable if necessary.
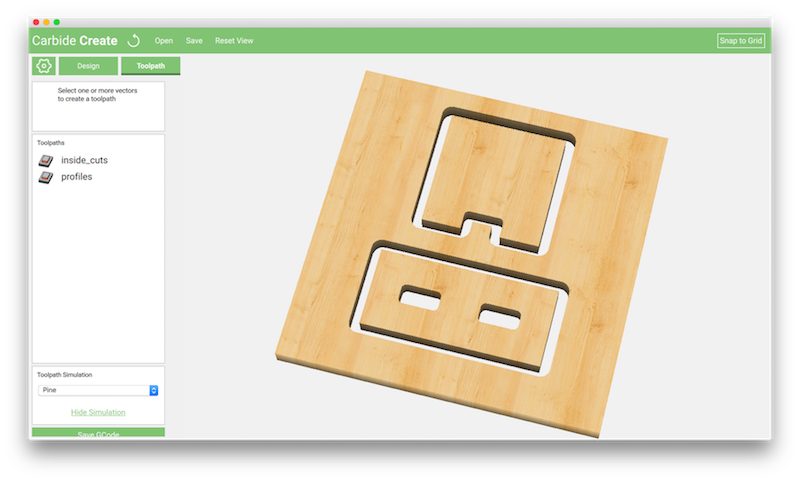
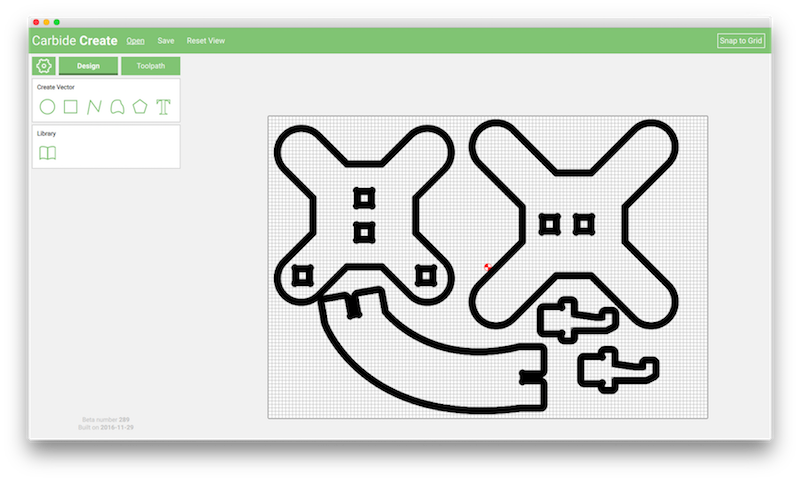
With all of those dimensioned decided, I drew everything in Carbide Create.
Having used the software for some time now, I've picked up a couple of tricks I used in this design that I'd like to share with you.
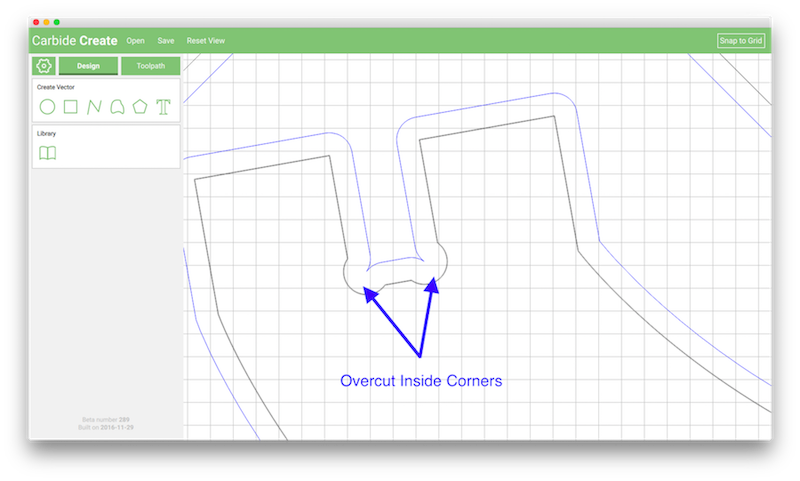
Everyone who has ever designed something for CNC has ran into this problem. Inside corners have a radius because the cutter is round. If you're trying to make a joint, this radius creates a problem. Leaving it as is is literally trying to put a square peg into a round hole.
Look at the photo above and imagine trying to put the top piece into the bottom piece. The rounded inside corners on the top piece wouldn’t allow it to sit all the way onto the bottom piece.
The rounded inside corners on the bottom piece, would not let top piece fit into the opening.
To to overcome this - you can simply “over cut” the inside corners. That is: cut past the actually corner to create enough space for the mating piece to slide through
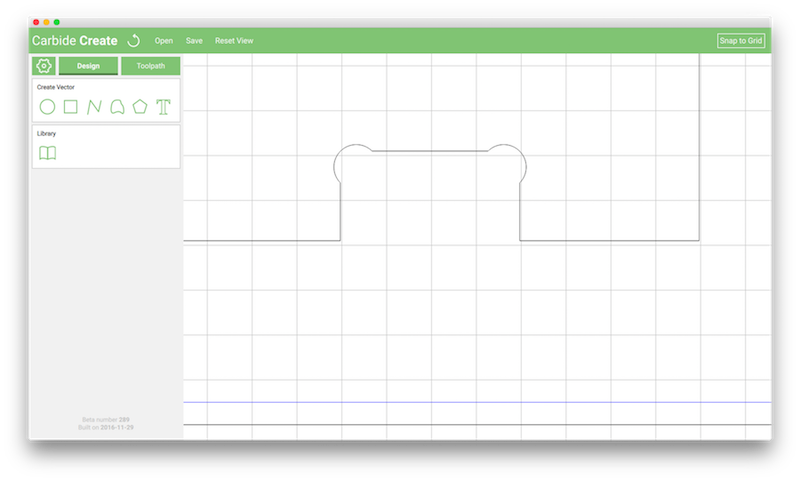
An an easy way to do this is as follows:
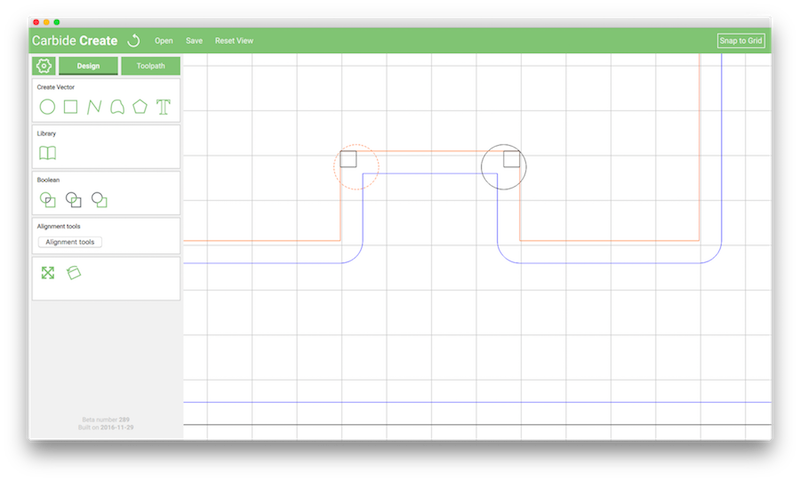
The squares we are using to position the circles are called reference geometry. This is a concept that will come in handy for future projects. You can always delete the reference geometry after you have positioned your intended feature.
I have a couple leftover pieces of 3/4” edge glued birch from a previous project. The drop I wanted to use was 16” wide by 11.125” tall.
The design needed to fit on that one piece of drop, so I moved everything around in Carbide Create until there was enough room for all of the pieces, and enough material to clamp down on the outside corners.
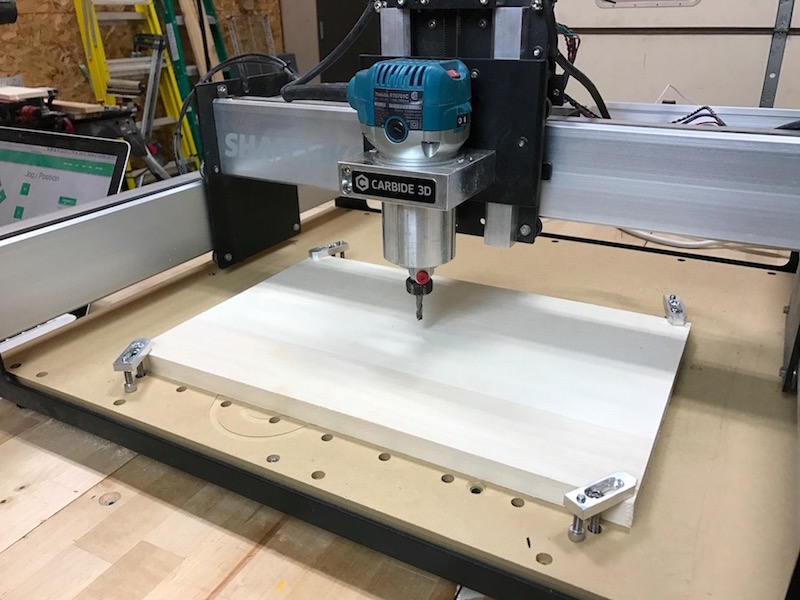
With the design done, and the layout complete it was time to get to cutting!
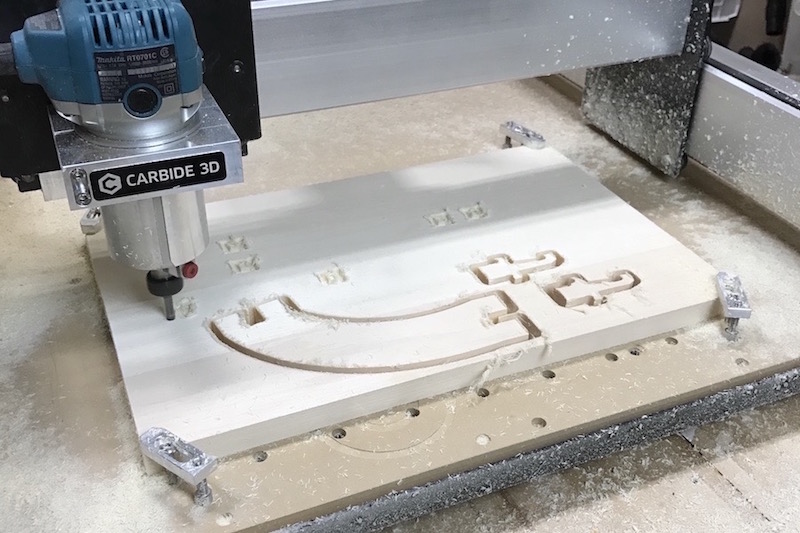
The order of events here mattered! I did all of the inside cuts first, then moved to the outside cuts. Doing the outside cuts (also called profile cuts) last ensures all of the pieces stay where they need to be until they are fully cut out from the stock material.
After the job finished (took about 10 minutes), I started finishing. This consisted of sanding everything with 220 grit sandpaper to knock down any edges or burrs. Then I applied a liberal amount of glue to all the joints and clamped the assembly together.
Once the glue dried, I scraped off the glue squeeze out and hit everything with the sander again, then wiped the entire assembly down with denatured alcohol to remove the remaining dust.
Then I applied a coat of minwax stain, and let that dry before applying a coat of polyurethane.
Having a CNC machine at your disposal allows you to make what you want to make, when you want to make it. We’d love to see what you are making, or hear stories about how you’ve used your machine to ‘fix’ a problem or fill a void.
If you want to make one of these, or take a look at the design files, you can download them here.
We'll keep you up to date on new things in the world of Carbide 3D, and CNC in general.